
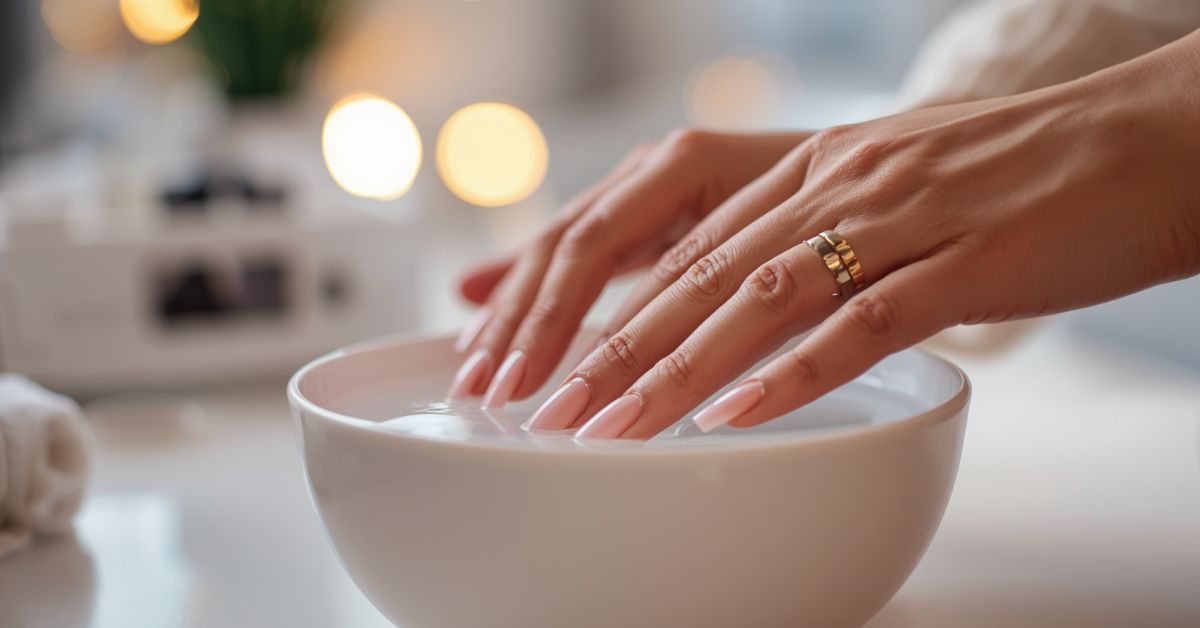
Acrylic nails can transform your hands in an instant long, glossy, and perfectly shaped for weeks on end. But every acrylic manicure eventually reaches its expiration date, and how you take them off matters just as much as how you put them on. Rip, peel, or pry them away carelessly, and you risk stripping layers off your natural nail, leaving it thin, weak, and prone to breaking. The good news? Removing acrylics safely at home is completely doable with the right tools, a little patience, and about 30 minutes of your time.
In this guide, we’ll walk through exactly how professionals soak off acrylics, what supplies you actually need (hint: not all removers are created equal), common mistakes to avoid, and how to nurse your natural nails back to health afterward. Whether you’re removing your first set or your fiftieth, doing it properly now means stronger, healthier nails later.
Understanding Acrylic Nails Before Removal
Before diving into removal, it helps to know what you’re actually working with. Acrylic nails are created by combining a liquid monomer with a powder polymer, which forms a hard, durable paste. This paste is applied over your natural nail (or a tip extension) and air-dries into a strong, protective layer. That same durability that makes acrylics chip-resistant and long-lasting is exactly why they’re trickier to remove than gel or dip powder; the bond is thick, dense, and doesn’t break down as quickly.
Acrylics adhere to the nail through a combination of chemical bonding and light buffing of the natural nail surface before application, which creates a rougher texture for the product to grip. This is why removal requires dissolving the product with acetone rather than simply peeling it away; the bond is too strong to lift safely without damaging the nail bed underneath.
Knowing when it’s actually time to remove your set is just as important as knowing how. Common signs include noticeable lifting at the base (where the natural nail has grown out), acrylic that’s cracked or chipped in multiple spots, nails that feel uncomfortable or catch on things, or a set that’s simply overgrown past a comfortable length. Waiting too long to remove or refill a lifted set can trap moisture underneath, increasing the risk of fungal infection so timing your removal well is part of good nail health, not just aesthetics.
Removal Methods Overview
There’s more than one way to take off acrylic nails, but not all methods are equally safe or equally effective. Here’s a quick rundown before we get into the step-by-step process.
Acetone soak-off is the gold standard and the method this guide focuses on. It uses 100% pure acetone to chemically break down the acrylic until it softens enough to gently scrape away. It’s slower than other methods but by far the safest for your natural nails when done correctly.
Professional salon removal is the best option if you don’t want to DIY it. Technicians often use an e-file (electric drill) to buff down the bulk of the product before a shorter acetone soak, cutting the process down significantly. This is worth considering for very thick sets or if you’ve had irritation with at-home soaks before.
The dental floss or warm water trick is a popular internet hack where floss is worked under the lifted edge of the acrylic to pop it off. It can work on nails that are already significantly lifted, but it’s risky forcing floss under a nail that isn’t ready to release can tear the natural nail plate underneath.
Finally, there’s what you should never do: picking, peeling, or prying acrylics off with your fingers or a metal tool. This is the single biggest cause of nail damage associated with acrylics, often stripping multiple layers off the natural nail and leaving it thin, weak, and painful for weeks.
What You’ll Need
Having the right supplies on hand before you start makes the entire process smoother and prevents mid-removal scrambling. Here’s what to gather.
100% pure acetone is non-negotiable; this is the single most important supply on this list. Regular nail polish remover, even the ones labeled “extra strength,” typically contain only a small percentage of acetone mixed with conditioning agents that dilute its effectiveness. Pure acetone, available at most beauty supply stores or pharmacies, is what actually breaks down the acrylic bond efficiently.
You’ll also need a glass or metal bowl to hold the acetone; plastic containers can degrade or warp on contact with pure acetone, so avoid them. Aluminum foil, cut into 10 small squares in advance, will wrap around each fingertip to hold the soaked cotton in place and trap heat.
Grab cotton balls or pads, one per nail, along with a coarse-grit nail file or buffer to break the top seal of the acrylic before soaking. A cuticle pusher or orangewood stick is essential for gently scraping off the product once it’s softened; never substitute a metal tool with a sharp edge.
Finally, stock up on cuticle oil and a rich hand or nail moisturizer for the aftercare stage, since acetone is very drying. Petroleum jelly is optional but useful if you want to shield the skin around your nails from prolonged acetone exposure.
Step-by-Step At-Home Removal Process
Once you’ve gathered your supplies, the actual removal follows a straightforward sequence just don’t rush any of the steps.
Start by trimming and filing. Clip the acrylic down to a comfortable length, then use your coarse file to buff away the shiny top layer of each nail. This breaks the protective seal and lets acetone penetrate the product faster, cutting your soak time down significantly.
Protect the surrounding skin with a thin layer of petroleum jelly around your cuticles if you’re prone to dryness or irritation, then saturate a cotton ball with pure acetone for each nail.
Wrap each fingertip. Press the soaked cotton directly onto the nail and secure it with a small foil square, wrapped snugly enough to stay in place but not so tight it cuts off circulation. Repeat across all ten fingers.
Let it sit for 20–30 minutes. Acrylic is denser than gel, so it needs more time to soften fully. Resisting the urge to check too early repeatedly unwrapping and rewrapping slows the process down.
Unwrap and gently scrape one finger at a time, using your cuticle stick to push off the softened acrylic. If it resists, don’t force it to rewrap that finger and soak for another 10–15 minutes.
Finish with a light buff to smooth any leftover residue, then move straight into moisturizing your nails and skin will need it after the acetone exposure.
Troubleshooting Common Issues
Even with the right process, removal doesn’t always go perfectly on the first try. Here’s how to handle the most common snags.
If the acrylic hasn’t softened after 20–30 minutes, don’t force it off. This usually means the set is unusually thick, older, or the top seal wasn’t filed down enough at the start. Re-file the surface lightly, then rewrap with a fresh acetone-soaked cotton pad for another 10–15 minutes. Thicker sets sometimes need two or even three soak cycles, and that’s completely normal.
If some nails come off easily while others don’t, it’s often due to uneven filing or inconsistent foil wrapping. A loose wrap lets acetone evaporate faster, reducing its effectiveness. Simply rewrap the stubborn nails on their own and give them extra time rather than trying to match the pace of the rest of your hand.
If your skin feels irritated, red, or overly dry from acetone exposure, rinse your hands with cool water, apply a rich moisturizer or petroleum jelly, and give your skin a break before your next soak session. Using petroleum jelly as a barrier beforehand next time can help prevent this.
If you discover damage to the natural nail underneath thinning, peeling layers, or white patches resist the urge to file or buff it further. Keep the nail moisturized and protected, avoid polish or product for a while, and let it grow out and strengthen naturally. Significant damage or pain is a sign to consult a professional.
Alternative/No-Acetone Methods
If you’d rather avoid pure acetone altogether whether due to skin sensitivity, an allergy, or simply not having it on hand there are alternative approaches, though they come with real trade-offs.
Non-acetone removers work through a different, gentler chemical process and are generally less harsh on skin and cuticles. However, they’re also significantly less effective at breaking down the dense polymer bond in acrylics. What might take 20–30 minutes with pure acetone can stretch to an hour or more with a non-acetone formula, and even then, results are often incomplete leaving you with a stickier, more tedious scraping process.
Warm soapy water soaks are sometimes suggested as a fully natural option, but realistically, they only help loosen acrylic that’s already significantly lifted on its own. Soap and water alone can’t break down a well-bonded acrylic set, so this method is more of a supplementary softening step than a standalone solution.
Non-acetone methods make the most sense in specific situations: if you have a documented sensitivity to acetone, very reactive or eczema-prone skin, or you’re removing a set that’s already mostly lifted and just needs a final push. For anyone with a fully bonded, fresh-ish set, pure acetone remains the more efficient and ultimately gentler choice; a shorter, more effective soak causes less overall friction and scraping than a prolonged, incomplete one.
Aftercare for Natural Nails
Removal is only half the job what you do in the days afterward determines how quickly your nails bounce back.
Start rehydrating immediately. Acetone strips natural oils from both your nails and the surrounding skin, so massage in cuticle oil right after removal, followed by a rich hand cream. Reapply cuticle oil two to three times a day for the first few days to counteract the dryness.
Give your nails time to recover. Natural nails typically take a few weeks to fully rehydrate and regain flexibility after an acetone soak, and it takes roughly three to six months for a nail to grow out completely from base to tip. You don’t need to wait that long between sets, but even a one-to-two-week break lets the nail plate recover some strength before the next application.
Consider a strengthening treatment. A ridge-filling or protein-based base coat can help reinforce thin, weak nails during the recovery window, especially if you notice peeling or brittleness after removal. Keep polish light during this period rather than immediately committing to another heavy product.
Mind your diet, lightly. While no food will instantly fix damaged nails, adequate protein, biotin, and hydration do support healthier nail growth over time. It’s a background factor, not a quick fix.
Avoid reapplying too soon. Going straight back into another acrylic set without any recovery time compounds thinning and weakening, making each cycle progressively harder on your natural nails.
When to Skip DIY and See a Professional
At-home removal works well for most standard sets, but there are situations where booking a salon appointment is the smarter and safer choice.
Extremely thick or multi-layered sets can be tough to manage at home. If you’ve had fills on top of fills for months without a full removal, the acrylic buildup may be too dense for a standard soak-off, requiring repeated cycles that prolong acetone exposure on your skin and nails. A technician’s e-file can buff down the bulk of the product in minutes, something that’s hard to replicate safely without professional tools and training.
Signs of infection are a clear signal to stop DIY removal altogether. Redness, swelling, warmth, pain, or any discharge around the nail bed could indicate a bacterial or fungal infection developing underneath the acrylic, and soaking it further at home won’t resolve that it needs medical or professional attention.
Limited home tools also matter. Professionals have access to e-files, specialized buffers, and controlled ventilation for acetone fumes that most people don’t have at home. If you’re removing acrylics frequently or dealing with recurring nail damage, an occasional professional removal can reset things properly and give you expert insight into what’s causing the damage.
Frequently Asked Questions
Does acrylic removal hurt?
It shouldn’t. A proper acetone soak-off is painless. You may feel slight coolness or dryness from the acetone, but no pain. If you feel pain, sharp pulling, or burning, stop immediately; this usually means the acrylic is being forced off before it’s fully softened, which can damage the nail bed.
Can I reuse the acrylic once removed?
No. Once acrylic is dissolved with acetone, it breaks down chemically and can’t be reshaped or reapplied. Each new set requires fresh products.
How often can I get acrylics without damaging my nails?
There’s no strict rule, but most nail professionals suggest taking at least a one-to-two-week break between removal and reapplication, and ideally a longer break every few months to let nails fully recover and reset.
Is it bad to remove acrylics too often?
Frequent removal cycles especially if done improperly can gradually thin and weaken the natural nail over time. The removal method matters more than the frequency itself; a gentle, patient soak-off causes far less cumulative damage than repeated picking or prying.
Can I use regular nail polish remover instead of pure acetone?
Not effectively. Most polish removers contain only a small percentage of acetone diluted with conditioning agents, which makes them far too weak to break down acrylic in a reasonable timeframe. Pure acetone is specifically necessary for acrylics.
Conclusion
Taking off acrylic nails doesn’t have to mean risking damage to the nails underneath, it just requires the right approach and a little patience. The core principle is simple: dissolve, don’t force. Whether you’re using the classic acetone soak-off method at home or opting for professional removal, the goal is always the same: letting the product release naturally rather than peeling, prying, or picking it away.
We’ve also flagged the warning signs infection, significant lifting, painful tearing that mean it’s time to hand things over to a professional rather than pushing through at home.
If there’s one habit worth building, it’s patience over speed. A rushed 10-minute removal that strips layers off your nail plate will cost you far more recovery time than a careful 30-minute soak done right. Treat removal with the same care you’d give the application, and your natural nails will thank you with less peeling, less breakage, and faster recovery between sets.
Ready to try it yourself? Gather your supplies, set aside half an hour, and give your nails the gentle removal they deserve.
That completes the full article! Want me to compile all sections into a single polished markdown file now?