
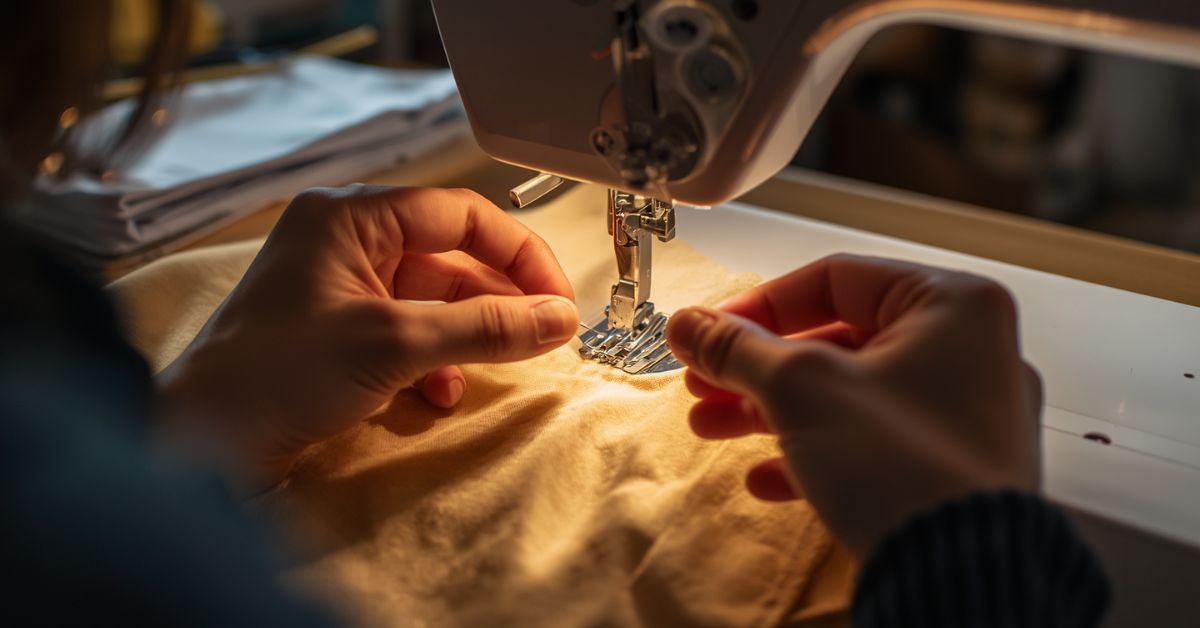
There’s something quietly satisfying about saving a favorite piece of clothing instead of tossing it in the trash. That sweater with the small moth hole, the jeans with a worn-through knee, the tote bag with a split seam all of these are fixable with nothing more than a needle, some thread, and about fifteen minutes of your time.
The good news is that you don’t need to be an expert seamstress to mend a hole well. With a handful of basic tools and a few simple stitches, almost anyone can repair small to medium damage at home. This guide walks through everything you need to know from identifying your fabric and choosing the right materials, to the exact stitches that will make your repair strong, neat, and built to last.
Understanding Your Fabric & Hole
Before you thread a needle, take a moment to really look at what you’re working with both the fabric and the damage itself. This assessment will shape every decision you make going forward.
Start with the fabric type. Woven fabrics (like cotton shirting or denim) have threads running in a grid pattern and tend to fray at cut edges. Knit fabrics (like sweaters or t-shirts) are looped and stretchy, and they behave very differently under a needle they can run or ladder if handled carelessly. Delicate or synthetic fabrics, such as silk or performance blends, often need a lighter touch and finer needle to avoid visible puncture marks.
Next, look at the hole itself. Is it a tiny moth hole, a straight tear along a seam, or a larger area that’s simply worn thin from friction? Note whether the edges are fraying, since loose threads may need to be trimmed before you begin.
Location matters just as much as size. A hole at a high-stress point, like a knee, elbow, or underarm, will need a sturdier repair, since that area will keep experiencing tension and movement.
Tools & Materials Deep Dive
Having the right tools on hand makes mending faster, easier, and far more durable. You don’t need a large kit, just a few well-chosen items.
Needles come in several types. A basic “sharp” needle works for most woven fabrics, while a ballpoint or jersey needle is better for knits, since it slides between fibers instead of piercing them. Heavier fabrics like denim or canvas call for a thicker denim needle, and delicate fabrics like silk need a fine, sharp point to avoid leaving visible holes.
Thread should generally match your fabric’s weight and fiber. Cotton thread works well on cotton and linen, polyester thread is strong and slightly stretchy (good for knits and everyday wear items), and silk thread suits fine or delicate fabrics. For color, matching thread as closely as possible makes the repair blend in, while a contrasting thread can be used intentionally for a decorative, visible-mending look.
Cutting tools like small embroidery scissors or thread snips give you more control than large fabric shears.
Support materials are optional but helpful: straight pins to hold patches in place, an embroidery hoop to stabilize stretchy or slippery fabric while you work, and a thimble to protect your fingertip during repeated stitching.
For larger repairs, keep patch materials on hand a scrap of matching fabric, iron-on patches, or fusible interfacing. A bit of beeswax can also condition your thread, helping it glide smoothly and resist tangling.
Preparation Steps
A little preparation before you start stitching goes a long way toward a clean, professional-looking repair.
Trim loose threads first. If the edges of the hole are fraying, use small scissors to snip away any stray threads. This prevents them from getting tangled in your stitches or poking out after the repair is finished.
Clean the area if needed. If the garment is dirty or has been worn recently, it’s worth giving it a quick wash before mending. Sewing over dirt or oils can trap them in the fabric and make future cleaning harder.
Turn the garment inside out. Working from the inside allows your knots and the bulk of your stitches to stay hidden, so the outside of the garment looks clean and undisturbed once you’re done.
Stabilize thin or stretchy fabric. If you’re working with a knit, jersey, or any fabric that shifts easily, placing it in an embroidery hoop can keep it taut and prevent puckering while you stitch. This step is optional for sturdier wovens like cotton or denim.
Cut and thread your needle. A length of about 18–24 inches is manageable without tangling. Thread the needle, pull the ends even, and tie a secure knot doubling the thread and knotting both ends together adds extra strength for high-stress areas like knees or elbows.
Core Stitching Techniques
A handful of basic stitches will cover almost every hole you encounter. Learning these well is more useful than memorizing dozens of techniques.
Whip stitch is the simplest and most common repair stitch. Bring the needle up just outside one edge of the hole, loop it over the top, and push it down through the opposite edge, working your way around in small, even loops until the hole closes. It’s ideal for small to medium holes.
A running stitch is a straight, evenly spaced in-and-out stitch. It’s not usually strong enough to close a hole on its own, but it’s perfect for basting a patch in place before securing it more permanently.
Ladder stitch creates an almost invisible seam by picking up small amounts of fabric from each side alternately, then pulling the thread taut to draw the edges together. It’s especially useful for closing seam splits or finishing the edge of a patch.
Darning is a weaving technique used for larger or worn-through holes, particularly in knitwear. Rows of stitches are laid across the hole in one direction, then woven over-and-under with a second set of stitches in the perpendicular direction, creating a small patch of fabric from thread alone.
The backstitch overlaps each stitch slightly with the last, making it strong and durable, ideal for reinforcing stress points like knees or underarms.
Blanket stitch wraps around a raw or folded edge, making it useful for felt, patches, or any repair that benefits from a neat, finished border.
Repair Methods by Hole Type
Different holes call for different approaches. Matching the method to the damage makes for a stronger, longer-lasting repair.
Small pinholes or moth holes are the easiest to fix; a simple whip stitch or a small patch of darning is usually enough to close the gap without adding bulk.
Larger holes or worn patches need more support than stitching alone can provide. Backing the hole with a scrap of matching fabric and stitching it in place keeps the repair strong and prevents it from tearing further.
Torn seams are often the quickest fix of all. A ladder stitch or backstitch run directly along the original seam line restores the garment’s shape without needing a patch.
Knee and elbow holes sit at high-stress points that flex constantly, so they need reinforcement. A fabric patch stitched on with backstitching, sometimes doubled up for extra durability, holds up far better than a simple closure.
Delicate fabrics like silk or lace require a gentler touch: a fine needle, light tension, and minimal stitching to avoid puckering or leaving visible marks in the fabric.
Knitwear and sweaters respond best to true darning. Because knit fabric is looped rather than woven, a woven thread lattice mimics the original structure and prevents the hole from stretching or laddering further.
Patching In Depth
When a hole is too large or worn to close with stitching alone, a patch adds the strength and coverage needed for a durable repair.
Sew-in patches are the most versatile option. Cut a piece of fabric slightly larger than the hole, allowing about half an inch of overlap on all sides. Place it behind the hole on the inside of the garment, pin it in place, and stitch around the edges using a whip stitch or running stitch, catching both the original fabric and the patch underneath.
Iron-on patches offer a faster alternative. Position the patch (adhesive side down) over or behind the hole, then apply heat with an iron according to the package instructions to fuse it in place. For extra durability, especially on garments that will see frequent washing or movement, reinforce the edges afterward with a few hand stitches.
Visible versus invisible patches is a style choice as much as a practical one. A patch cut from matching fabric and stitched with matching thread will blend in almost seamlessly. Alternatively, a contrasting patch with decorative stitching, a style often called visible mending, turns the repair into a design feature rather than something to hide.
Placement also matters. Patching from behind the hole keeps the repair discreet, while patching on top of the hole covers damage more completely but is more visible. Combining an iron-on patch with hand stitching around the edges often gives the best of both worlds: speed and long-term durability.
Finishing & Quality Control
The last few steps are what separate a repair that looks intentional from one that starts unraveling within a week.
Tie off and secure your thread. Once the hole is closed or the patch is attached, take two or three small stitches in the same spot on the inside of the garment, then knot the thread securely. This keeps the entire repair from loosening if a single stitch gets caught or pulled.
Trim excess thread. Snip any loose ends close to the fabric, but be careful not to cut into your knot. Stray threads left too long can catch on other items or unravel over time.
Press the repair. If the fabric allows it, run a warm iron over the mended area on a low, fabric-appropriate setting. This helps the stitches settle into the fabric and gives the repair a flatter, more finished appearance.
Stress-test the mend. Before considering the job done, gently stretch and flex the repaired area the way it would move in normal wear, bend a mended knee, tug at a patched pocket. This reveals any weak spots while they’re still easy to fix.
Turn the garment right-side out and inspect closely. Check that stitches are even, the patch lies flat, and there are no visible knots or puckering on the outside.
A few extra minutes spent on finishing touches is often the difference between a repair that lasts for years and one that reopens after a single wash.
Troubleshooting Common Problems
Even careful mending can run into a few common issues. Knowing how to spot and fix them saves time and frustration.
To avoid this, keep tension gentle and consistent, especially on lightweight or stretchy fabrics. If puckering has already happened, a light press with an iron can sometimes relax the fabric back into shape.
Stitches too loose or too tight both cause problems; loose stitches leave gaps that can reopen, while overly tight stitches distort the fabric. Aim for even tension throughout, checking your work every few stitches rather than at the very end.
Thread breaking mid-repair is often a sign of low-quality thread, a thread that’s too thin for the fabric, or friction from a rough needle eye. Switching to a slightly heavier thread or conditioning it with beeswax can help it glide more smoothly and resist fraying.
Visible or mismatched repairs usually come down to thread color or stitch size. If blending in is the goal, take time to match thread as closely as possible and keep stitches small and consistent. If a perfect match isn’t possible, consider leaning into a visible mending style instead.
High-stress spots like knees or underarms usually need a patch and backstitching rather than a simple whip stitch closure.
Tips for Long-Term Garment Care
A good repair extends a garment’s life, but a few ongoing habits can help prevent holes from forming in the first place.
Store clothes properly. Moths are drawn to natural fibers like wool, so store sweaters and wool garments in sealed bags or containers, especially during off-seasons. Cedar blocks or lavender sachets can also help deter pests without the harsh smell of mothballs.
Wash with care. Turning garments inside out before washing reduces friction against zippers, buttons, and other rough surfaces. Using a gentler wash cycle and air-drying delicate or knit items can also slow down general wear and tear.
Reinforce high-wear areas proactively. If you know certain spots on a garment tend to wear thin like the inner thighs of jeans or the elbows of a favorite sweater adding a discreet patch or extra stitching before a hole appears can significantly extend its life.
Build a basic mending kit. Keeping a small kit with needles, a few spools of neutral thread colors, scissors, and a couple of patches on hand makes it far more likely you’ll fix a small hole right away, before it grows into a bigger repair job.
Consider learning machine mending next. Once hand-stitching feels comfortable, a sewing machine opens up faster techniques for zigzag reinforcement and larger-scale darning, which can be especially useful for household items like bedding or upholstery.
Small, consistent habits like these mean fewer holes to mend and longer-lasting clothes overall.
Conclusion
Mending a hole isn’t complicated once you understand a few fundamentals: assess the fabric and damage, gather the right tools, and match your technique to the type of repair needed. A whip stitch will handle most small holes, a patch adds strength where it’s needed most, and a few careful finishing touches make the difference between a repair that lasts and one that unravels within weeks.
Instead of seeing a hole as the end of a piece of clothing’s life, you start seeing it as a small, solvable problem. Over time, this kind of hands-on repair work builds real confidence, and many people find it genuinely relaxing once they get the hang of it.
If you’re new to mending, don’t start with your favorite sweater. Grab an old scrap of fabric or a garment you don’t mind experimenting on, and practice the whip stitch and a simple patch a few times first. Stitches will get neater and faster with just a little repetition.
The next time you spot a small hole starting to form, resist the urge to toss the item aside. With a needle, some thread, and a few minutes of focused attention, you can keep it in your wardrobe for years to come one small stitch at a time.